
Staining Over Paint – for that perfect antique finish
 I know I’m not the only one who has been loving redoing furniture lately. There is just something about taking a piece that looks boring, old, or plain ol’ ugly and giving it a new life. And the method I’m going to share today has been one of my favorites lately.
I first heard about the stain over paint technique last summer. One of my neighbors messaged me one evening to come over and look at the project she had going on in her garage -an amazing chest that she got for free behind some cabin, score! (Just a note: it’s awesome to have a neighbor also into refinishing stuff, we show off our latest items and show a good amount of sadness when the other gets the good bargain at the thrift store)
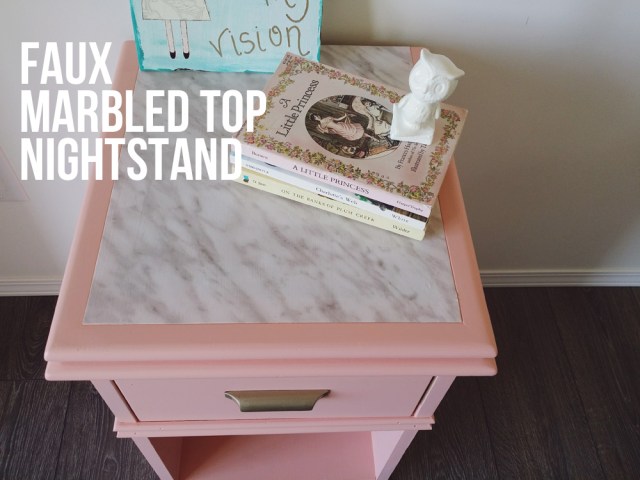
Once I heard about staining over paint I knew I would have to try it out soon. And did I ever, I might have gone a little overboard with the technique. From what I can recall I used it on the vintage ladder, a chair and a nightstand.
I did share my stain over paint technique briefly (not that it’s that difficult) before but I thought I would share it in a little more detail today.
- My first step is always to sand and wipe down any piece that I am working on. Part way through the summer we invested in a power sander and it quickly became one of my favorite tools (it’s currently neck-in-neck with the jigsaw).
- Next comes the painting part. Honestly I only prime about 50% of my projects, there is no good reason as to why I don’t prime all of them, I just don’t. All the paint that we used for these three pieces came from Restore, we got most of our pails for $10 (as opposed to the $40+ they are at home improvement stores), and there are even times where Restore will have a sale where everything is 50% off so you can get one for $5. When shopping at a place like this you are limited to the colors that they have available, but we were able to find some that worked.
- After painting a couple of coats I let each piece dry for a good 24 hours.
- Then I took fine sand paper and lightly sanded each piece (by hand, no power sander at this point). The first time I did this I sanded too much and the result was not what I was going for, for me fine sand paper and sanding very lightly worked perfectly.
- Then, using gloves, I brushed the stain on in small portions (approximately 6 inch square sections worked well) and then would immediately wipe the stain off with a wet rag (I had a bucket of water handy for rinsing it off throughout). Then I would use a dry rag to wipe off any remaining stain. I found that this left the perfect amount of stain to soak in and get in the grooves. (For the chair I used Varathane’s Mission Oak stain and the nightstand I used Varathane’s Expresso, and I believe I used the Mission Oak on the ladder as well, but am not positive on that one.)
- I just continued with the brushing, wiping with a wet rag and wiping with a dry rag until each piece was done.
I really like how each one turned out, it gives each item just the perfect amount of a vintage looking touch. What are your thoughts on the staining over paint technique? Have you ever tried it or hope to in the future? If you’ve done it I would love to see some photos!


oh wow, I need you to come to my house! haha. I’ve tried a couple projects and well, out of like 5, only 1 turned out good. haha.
No worries, I’ve had projects that haven’t turned out too. This stain over paint method is really good for hiding any blemishes or imperfections though!
You are so creative…love all of these:) xxoo Katie
Thanks Katie! I’ve seen so many good photos of things people have gotten at flea markets in LA, so many good finds out there, but too bad they won’t fit in my suitcase. 🙂
Oh, this is such a good diy! Each of the pieces are beautiful, but I’m loving the chair!
Thanks Jenna! The chair is the one thing we’ve kept!
Love those before and afters. The ladder is the best!
Thanks Samantha!